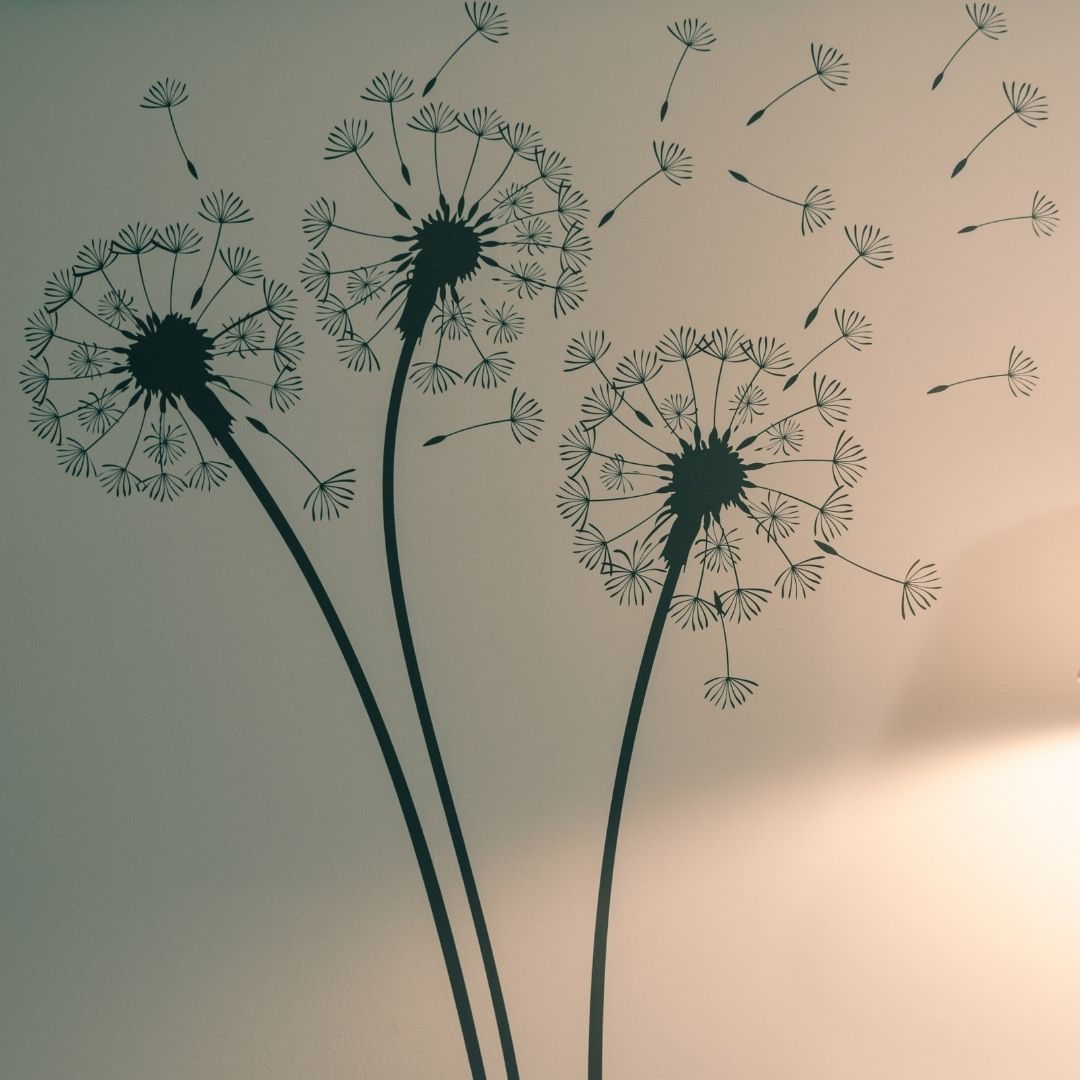
Applying wall decals can be the way to go when you need a bit of extra spunk in a room. Putting them up is an easy DIY project that almost anyone can handle with the proper steps. Here’s a quick checklist for prepping to apply wall decals.
Clear and Prepare the Area
Start by clearing the area where you’ll be hanging the wall sticker. Next, move any furniture away that could skew your perception of how straight or aligned the decal will be. After that, gather all the tools you’ll need based on the instructions that come with the sticker. It will also be helpful to make sure the temperature is between 60 to 80 degrees Fahrenheit.
Clean the Wall
For the adhesive to stick, the wall must not be dirty at all. You can use either a damp cloth or alcohol to remove dirt, dust, oil, or anything else that could get on the wall. The wall must dry all the way, so don’t try to hang a decal after cleaning the surface or within four to six weeks of painting the room.
Lay It Out on a Flat Surface
Right before you plan to apply the decal to the wall, lay it out on a flat surface. If you notice it curls or has wrinkles, don’t fret. Simply flatten the decal out and weigh it down with a book for a couple of hours.
Apply It
After you have everything prepared and ready that you need, it’s time to apply the decals! Follow the instructions that came with them. Certain styles will have different directions depending on their size or design complexity.
Smooth It Out
After you’ve hung your
self-adhesive wall decals, there’s a chance that there may be some bubbles or wrinkles. If this is the case, grab a knife, squeegee, credit card, or a hand towel. Then, start smoothing the decal in the center. Work your way out until you eliminate all the bumps or creases. Be careful not to scrape too hard if you’re using something sharp. This way, you won’t cut the decal.
By following this quick checklist for prepping to apply wall decals, you’ll be on your way to a successful room renovation.
 USA
USA
 CANADA