 USA
USA
 CANADA
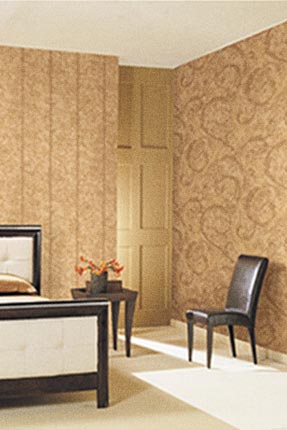
Wallpaper can give character and charm to any room of your house, but it becomes such a sore sight when it has outlived its charm and is either damaged or is simply not your taste anymore. Removing old wallpaper can sometimes seem to be an elaborate and discouraging process, more so if you have no clue how it was applied in the first place. With the right tools, some preparation, and just enough time and patience, those old designs will soon come down, and you will have a clean slate on which to work with your next decorative adventure.
Whether it's a single accent wall or an entire room, here is all you need to know about the right way to remove old wallpaper.
Step 1: Assess the Situation
Understanding what you're dealing with before jumping straight into using tools and sprays is really essential.
If the wall was primed, sealed, and painted beforehand, congratulations! Under these conditions, the drywall paper peels away in long, satisfying strips with little effort. Most of the time, a stripping solution or scraping is not even needed for this.
As if that were the best-case scenario-and it almost never happens, anyway.
In many homes, people skip important prep steps when applying wallpaper. Maybe the wall wasn't sealed or primed, or perhaps a shortcut adhesive was used. When that happens, the paper bonds tightly to the drywall, making removal a longer and messier process.
So, how do you know? Try this simple test:
- Locate a corner or seam.
- Use your fingernail or a putty knife to lift it.
- Gently tug to see how easily it peels.
If it comes off in large sheets, great! If not, you'll need to use a wallpaper stripper and some elbow grease.
Step 2: Gather Your Tools and Materials
Here’s what you’ll need for the job:
- Wallpaper Scoring Tool – To perforate the wallpaper and allow the stripper solution to soak in.
- DIF Liquid Concentrate Wallpaper Stripper (or a similar product) – Helps dissolve the wallpaper paste.
- Spray Bottle – To apply the stripping solution evenly.
- Bucket – For mixing or soaking sponges.
- Metal Putty Knife – To gently scrape wallpaper without damaging the wall.
- Stiff-Chisel Scraper – Ideal for stubborn sections.
- Sponge Mop – Makes cleaning easier, especially for higher walls.
- Towels or Rags – For drying surfaces and wiping drips.
Optional: Drop cloths or plastic sheeting to protect floors, and painter’s tape to secure them in place.
Step 3: Prepare the Area
Peeling wallpaper is always going to be a messy job; there is no getting around that. Here is what you should take a few minutes to prepare for:
- All furniture should be moved out of the room or in the center of the room and protected with plastic coverings.
- Cover the floor with tarps or plastic sheeting to protect it.
- Shut off power to this room and remove outlet covers and light switch plates.
- Seal all around the electrical box to keep it dry.
Then, the work commences.
Step 4: Score the Wallpaper
Use a wallpaper scoring tool to create gentle perforations on the wallpaper. Make circles overlapping or crisscrossing across the surface with the tool. The perforation creates tiny holes that will allow the stripping solution to seep through and dissolve the adhesive beneath.
Do not press too hard, since damage underneath could occur with the softer drywall qualities.
Step 5: Apply the Stripping Solution
Take a wallpaper stripper. Mix it according to the instructions on the bottle and pour it into a spray bottle. Now, generously spray the liquid over about 3 to 4 feet of manageable wallpaper sections.
Give it a soak of around 10 to 15 minutes. This is crucial, as the more time it remains, the better it can dissolve the glue.
While working on very big rooms, it is best to work in sections so that the solution will not dry before you can begin scraping.
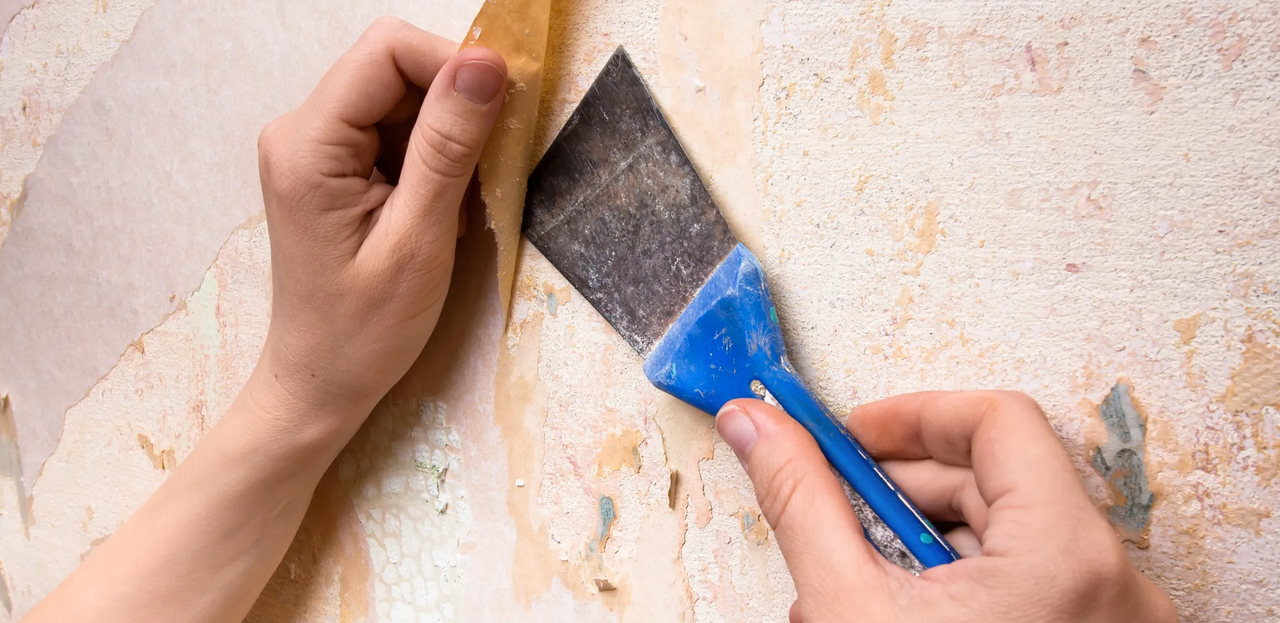
Step 6: Start Scraping
Let the solvent act for a time before using a putty knife or scraper to pry up one edge and start peeling. It is best to start from down and use your scraper at places where it seems necessary while pulling the wall with wallpaper.
If you hit a tough patch:
- Reapply the stripper solution.
- Wait another 5–10 minutes.
- Then try again with your stiffer chisel scraper.
This process takes time, especially if there are multiple layers of wallpaper or the adhesive was particularly strong.
Step 7: Clean and Rinse the Walls
After the wallpaper is stripped, there remains an additional but continued job. You may notice some residual wallpaper paste or adhesive on the wall.
To remove that:
- Fill a bucket with warm water and add a little mild dish soap.
- Scrub the walls thoroughly with a sponge mop or rags.
- Rinse with clean water and dry with towels or rags.
Ensure that the walls are completely clean and dry before repainting or putting up new wallpaper.
Extra Tips for Success
- Patience is key. Don’t rush the soaking time—it’s what saves you effort later.
- Work in small sections. This prevents the stripper solution from drying out.
- Keep the room ventilated. Wallpaper stripper can have strong fumes, so open windows or use fans.
- Test a hidden corner first. It gives you an idea of how the wallpaper reacts.
Final Thoughts
The task of removing old wallpaper is not fast, but it is made worthwhile if it is done correctly. Equipped with the right tools and an organized strategy, even the toughest wallpaper can be stripped off, granting the walls a brand new slate. Painting, wallpapering, or simply letting them be as gorgeous naked walls will benefit from wallpaper removal done right.
So roll up your sleeves and get on with it; these walls are all set for a new beginning.