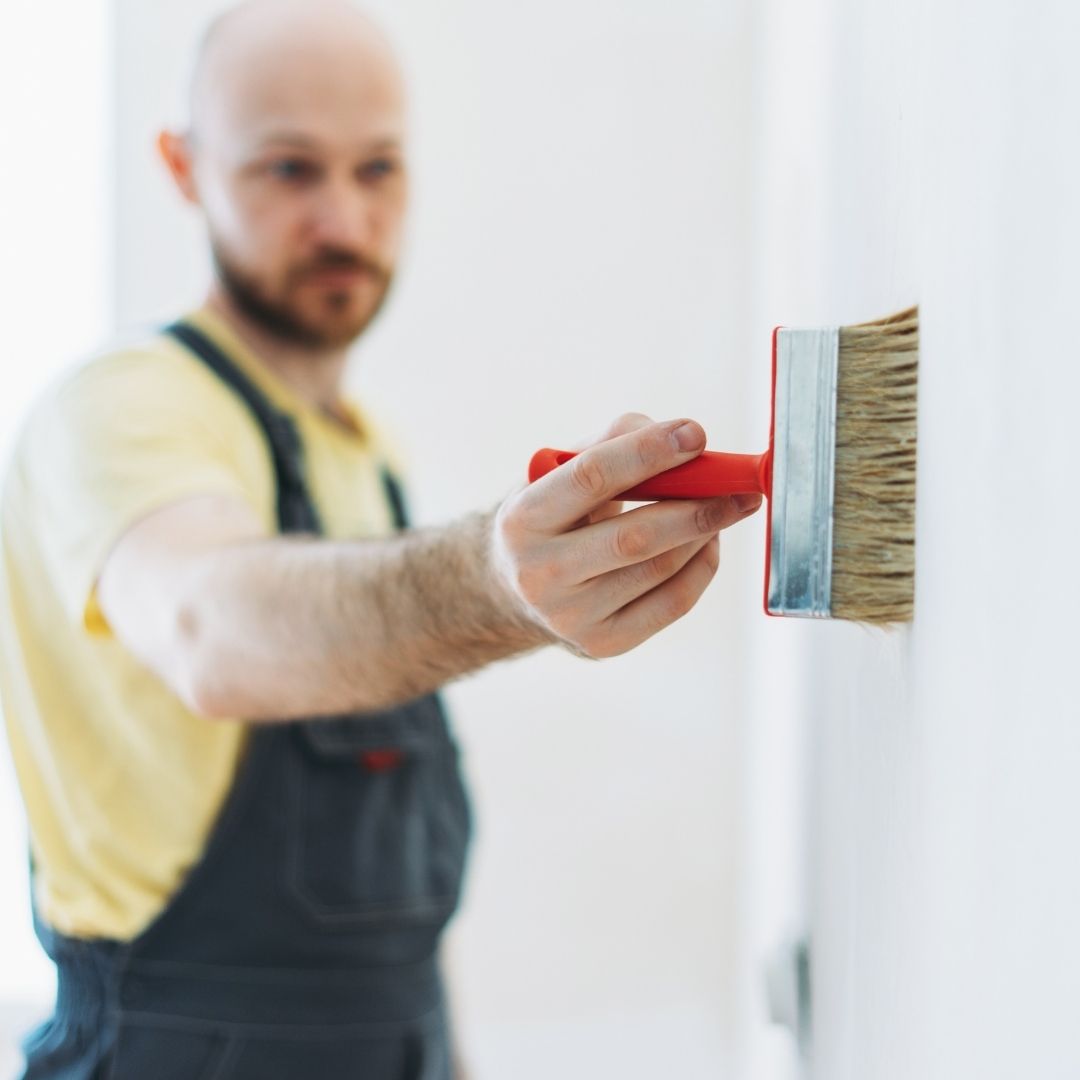
Despite the moniker “wallpaper,” this transformative décor element works on ceilings, too. However, before applying wallpaper to a ceiling, there are some dos and don’ts you should learn. Use the list below to learn tips for installing wallpaper on your home ceiling.
Do Ensure the Ceiling’s Clean
Getting wallpaper is exciting, but you shouldn’t apply it too quickly. First, inspect your ceiling for any dust, dirt, cobwebs, and other stains or obstructions. Installing wallpaper over such eyesores will ruin the final look. Thankfully, cleaning the ceiling is quick and easy unless it’s moldy, structurally unsound, or generally in horrible shape. After washing away grime and removing all dust or cobwebs, you can move onto the primer.
Don’t Neglect the Primer
A crucial piece of preparation to do before applying wallpaper to a ceiling is adding primer. Applying primer ensures a smooth, easy wallpaper application. This step doesn’t require specialty hand tools besides your average paint roller. That said, don’t apply the primer until you’re sure it’s for wallpaper applications.
Do Consider Your Current Aesthetic
Even before purchasing the wallpaper, consider your current aesthetic every step of the way. Ensuring your wallpaper choice mixes well with your present room design will help you improve the space instead of hindering its appearance. For example, high-quality
modern black and white wallpaper can enhance rooms with neutral color palettes, echoing the overall aesthetic. On the other hand, if wallpaper installation is only one part of a larger renovation, keep your interior design plan in mind to ensure a consistently attractive vision.
Don’t Forget About Air Bubbles
After installing the wallpaper, be on the lookout for any air bubbles. If you spot some, don’t worry. You can easily remove them with a simple set of materials. Once you find all the bubbles, grab a damp sponge. Then, carefully use the sponge to smooth out all air pockets. Don’t put the sponge away after removing the air pockets, though. Instead, inspect the ceiling for any excess glue and use your sponge to wipe it off, ensuring you can capture that good-as-new look.
 Despite the moniker “wallpaper,” this transformative décor element works on ceilings, too. However, before applying wallpaper to a ceiling, there are some dos and don’ts you should learn. Use the list below to learn tips for installing wallpaper on your home ceiling.

 USA
USA
 CANADA