 USA
USA
 CANADA
Building up fresh new looks for your home essentially starts with removing the old, in keeping with the philosophy of wallpapering. Having said that, before installing your latest design or going for the minimal look, there really is only one step to take first: keep the old one out of the way. And while that sounds pretty simple on paper, consider that wallpaper removal calls for equal amounts of patience, preparation, and precision.
Not quite a large-scale alteration of the house, wallpaper removal can turn into a messy affair if it is done incorrectly; can damage your walls; and can put your redecoration plans on hold. Be the removal of wallpaper that has been there for ages or for wallpaper that might have been put up a few days ago, there are some golden rules that make the job much easier and successful. Below, we'll walk you through three tips and tricks to try for removing old wallpaper.
1. Take Your Time—It’s Not a Race
The big misconception that homeowners sometimes have is that wallpaper removal is an easy and quick process. On the contrary, it is a long drawn-out job especially if you go about it on layers of wallpaper and old glue bonds that have tightly stuck onto the wall surface.
Hence comes the most important tip: allot plenty of time to it. Do not try to squeeze wallpaper removal into one single afternoon. Give yourself an honest one to two days for the job so that you can go about it patiently and methodically.
Start with proper preparation. This includes:
- Removing any wall hangings like mirrors, artwork, or photo frames.
- Covering or relocating nearby furniture to avoid splashes, drips, or scratches.
- Placing protective drop cloths or tarps over your floors.
- Turning off electrical outlets and removing switch plates to avoid damage or safety hazards.
Having ample time and being prepared for the actual work is how you would ensure success. One rush in the removal of wallpaper can result in problems such as torn drywall, sticky residues, or unclean wall surfaces that will have to be fixed and will take even more time down the road.
2. Clean Every Last Bit of Residue
Once wallpapering is finished and the wall has been stripped of wallpaper, it feels like the hardest part may be over. Nope, hold it—a stickier situation arises with leftover adhesive and bits of paper that cling to the wall.
An easy temptation at this point is to paint or paper over these walls without clearing them off. In fact, the remaining residue can really ruin the next wall finish; they become bumps and uneven texture well able to interfere with paint or adhesion.
Here’s how to effectively remove wallpaper residue:
- Mix a Cleaning Solution: Warm water and dish soap work well for most wallpaper glue. Combine the two in a spray bottle or bucket.
- Apply and Soak: Spray or sponge the solution generously onto the walls, letting it soak for several minutes to loosen the adhesive.
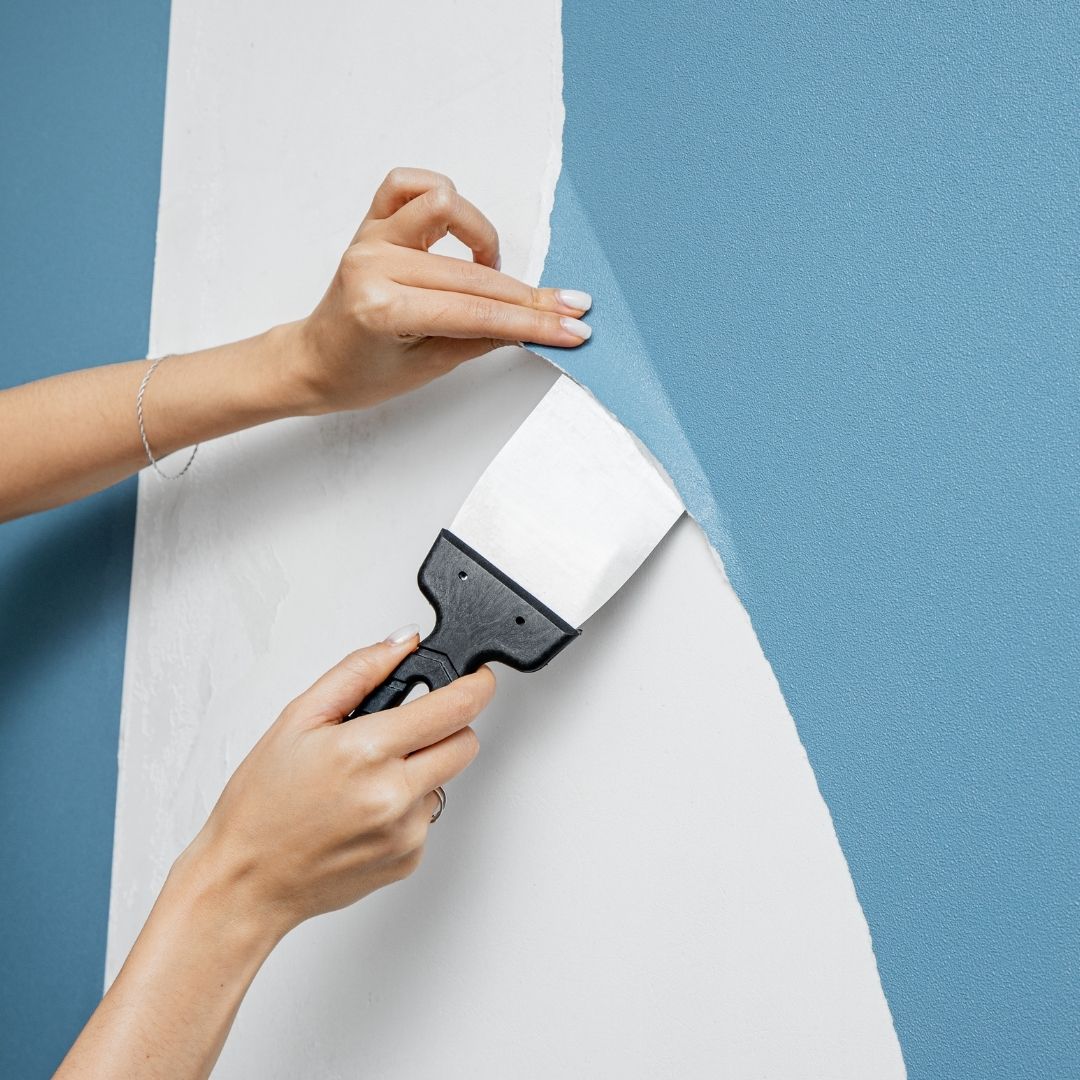
- Scrape Gently: Use a plastic scraper or putty knife to peel away any softened residue. Be careful not to gouge or damage the wall underneath.
- Consider a Wallpaper Stripper: If the glue is particularly stubborn, a commercial wallpaper stripper can save you time and effort. Follow the instructions carefully—most require you to spray the solution, let it sit for about 15–20 minutes, and then scrape away the softened material.
- Final Rinse: Once the residue is removed, go over the wall with clean water and a sponge to wipe off any remaining chemicals or soap.
Proper cleaning leaves your wall smooth, clean, and ready for its next design evolution—whether that’s a fresh coat of paint or new wallpaper.
3. Consider Peel and Stick Wallpaper for the Future
If you are midway through a wallpapering project, you might very well be working with traditional wallpaper. But here comes a tip that could genuinely save on time and effort: for your next redo, give the peel-and-stick wallpaper a consideration.
The peel-and-stick wallpaper has really opened up a whole new way of decorating our interiors. They are easy to apply: peel off the backing and stick the wallpaper to the wall. But the main advantage is that when the time comes to redecorate, the valuables can be captured. Peel-and-stick paper can come off in large sheets and usually leaves very little, if any, residue, whereas traditional wallpaper must be soaked, scraped, and subjected to a couple of punishing cleansing sessions.
This makes it an excellent option for:
- Renters who want a temporary décor solution.
- Homeowners who love switching up their interior style.
- DIY enthusiasts are looking for an easy weekend project.
Attractive peel and stick wallpaper is Deuscher Door with a vast range of styles, patterns, and colors available. While considering new décor, therefore, be sure to give modern peelable options a serious thought while you seek one that is elegant and equally convenient.
Final Thoughts
Perhaps less glamorous, yet crucial, is the task of taking down wallpaper for redecorating purposes. A clean and well-prepared wall is the canvas on which all good interior designs are built. By taking your time to remove every last bit of residue and having wallpaper options in mind for the new look, you can transform what feels like a boring task into an interesting project.
Not all wallpaper removal projects are created equal, whether you have a single room in mind or are planning to refresh an entire house. So, let these tips steer you right through the wallpaper removal process with confidence—and just maybe with some satisfaction. Happy renovating!